
Sometimes lacemakers rush in where angels fear to tread. And that is how my Binche journey started.
Last year I attended two days of classes with Tricia Bury and Sue Newell in Cambridge. On day one I did Idrija. But by the end of the day I was well on my way to finishing the piece that I started that morning, and it was going reasonably well. So I decided that I wanted to take the opportunity to learn Binche basics on day two instead of doing more Idrija. Tricia talked me through what I needed to do to prepare, and gave me a pricking and basic beginners’ instructions for getting started with Binche. Never one to back away from a challenge, I drove home at the end of day one, had a quick bite to eat, prepared the pricking and wound 108 bobbins by hand. It took me more than five hours – such was my determination to learn how to make Binche under Tricia and Sue’s expert guidance!
By the end of day two I was hooked on Binche. It took me a few months to finish that sample, but finish it I did.
As I approached the end of the sample, I started looking around for a new Binche project. I spent a lot of time looking through my Binche books and daydreaming about where my Binche journey might take me. Around that time I came across Lieve Pollet’s beautiful pattern folder called Brugse Binche – Ouderwetsen & Mentebollen. A handkerchief edging pattern called ‘Renee’ caught my eye – I was in awe of its beautiful, delicate, airy appearance.
You’d think I would have had the good sense to pick an easier pattern for my second foray into Binche, but no, that would just have been way too sensible. Nothing was going to stand between me and this gorgeous pattern, so the minor matter of virtually no Binche experience was not going to hold me back.
It’s been a year in the making and I’m almost done (about another 8cm to go). It is definitely my most ambitious bobbin lace project to date. And the steepest learning curve!
Looking back on the project, there are five standout lessons that I learnt. If you are interested in making Binche, I hope these five lessons will stand you in good stead.
Lesson #1: Keeping track of where you are
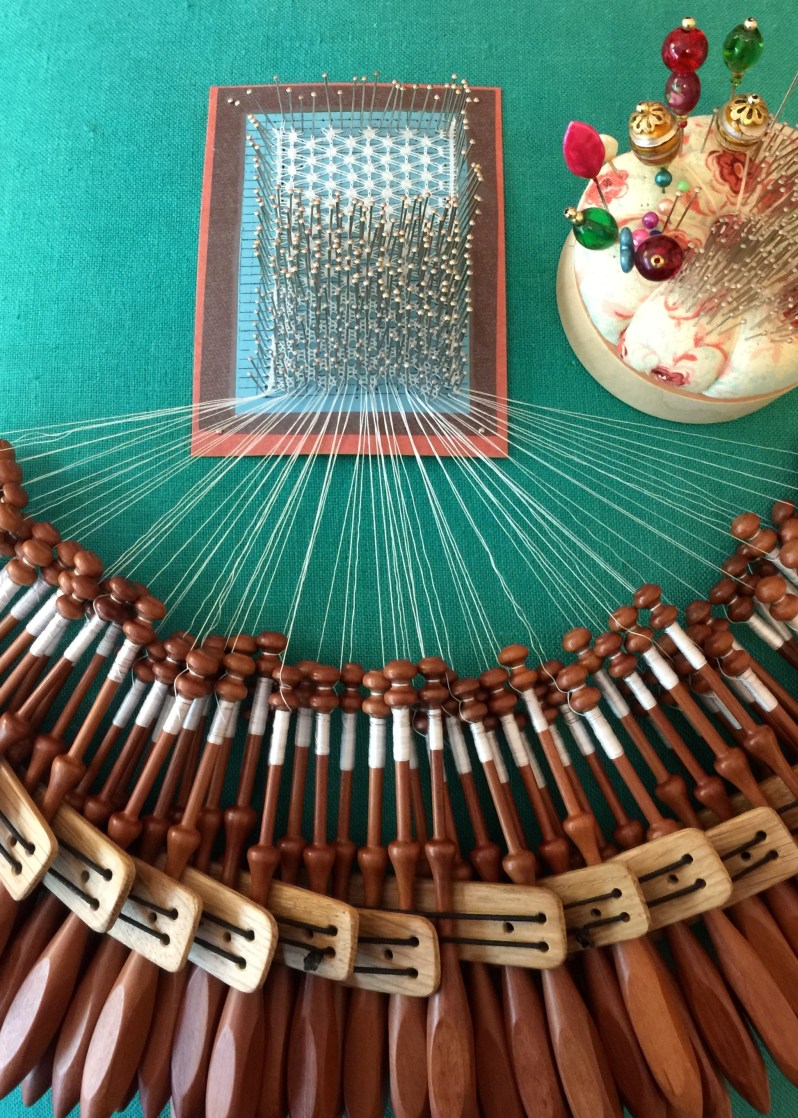
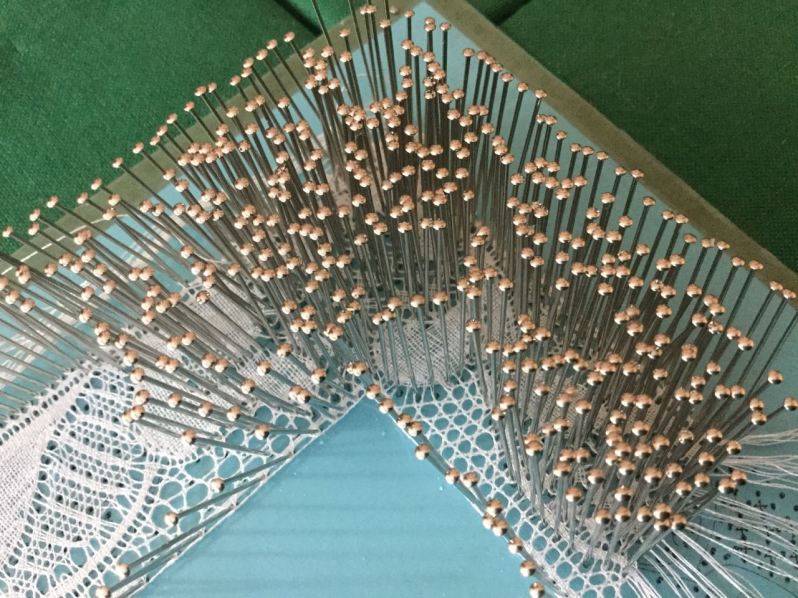
There is no real rhyme or reason to Binche. It doesn’t have the same mathematical precision and symmetric sensibility of Torchon. The workers become passives and the passives become workers. They change direction unexpectedly, and the cloth stitch motifs require a lot of shaping and tensioning – with lots of pairs continually entering and exiting the motifs. Keeping track of where exactly you are in the pattern is quite challenging. And because the thread is so fine and the pins are so incredibly close together it is really difficult to see where exactly you are at. Especially if you only work on the lace intermittently.
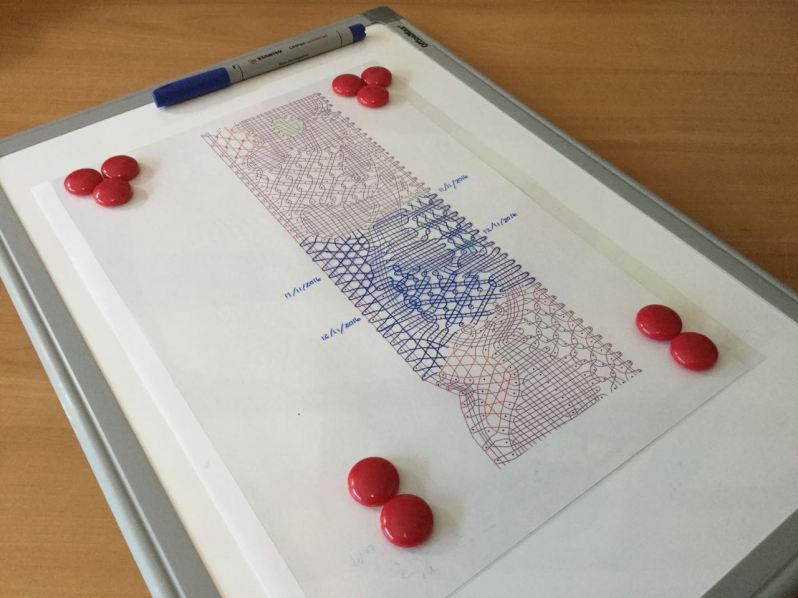
To overcome this problem I keep track of my progress by making a coloured photocopy of the working diagram, placing a transparency over it and securing it against a portable magnetic whiteboard with small magnets. I then use a non-permanent marker to trace my progress on the transparency. It works really well for me – I always know exactly where I am. Every time I work on the lace I jot down the date next to the relevant footside and head side pin where I start on that day, so that I can look back and see my progress (or lack thereof!) Where needed, I also make some notes on the transparency (e.g. to mark missing pinholes or other tips/reminders for myself). Once I get to the end of the relevant working diagram I simply remove the transparency, make a copy to keep for future reference, spritz it with window cleaner and wipe off all my markings so that I can reuse it again on the next working diagram.

Lesson # 2: Master the technique of ‘insmijting’
In Binche (and in Flanders) the worker pair often changes direction without being supported by a pin. This creates unique challenges when you start tensioning your thread in the cloth stitch motifs. Tensioning with too much gusto could very easily cause unsightly holes in the cloth stitch motif because the threads pull away from the edge of the motif. I learnt this the hard way. When I first started working on this pattern I realised after a few months that my cloth stitch motifs looked absolutely terrible – full of unsightly holes where the thread pulled away from the edge of the motif. It was so bad, that I decided to abandon my first attempt. So for the first time in my life, I cut off all the bobbins and removed an unfinished piece of bobbin lace from my pillow. It broke my heart, but it was one of the most valuable lacemaking lessons I have ever learnt.
When I started this blog I promised to share the good, the bad and the ugly, so below is a picture of that epic failure. (I make the mistakes so you can learn from them and not make them yourself. I’m generous like that…)

If you don’t want your cloth stitch motifs to look like that, I highly recommend that you read about the technique of ‘insmijting’ on LOKK’s website and Joke’s Kantelier. This technique, if executed well, seems to provide much better control over the tensioning and appearance of the cloth stitch motifs. But I found that the tensioning is still something that needed very careful attention every step of the way.
Lesson # 3: Pick the right pins
Pins come in many different lengths and diameters. Pick wisely. Using pins that are not fine enough will detract from the delicate, airy look of Binche. Read as much as you can about how to select the correct pin for the type of lace that you are making. You can find a great guide here. When making Binche you want to use a pin that is long and fine given that the pins are clustered together. I ended up using 30 x .50 Belgian pins (i.e., pins that are 30 mm long, with a diameter of 0.5mm) and was very happy with the result.


Lesson # 4: Bobbin slides
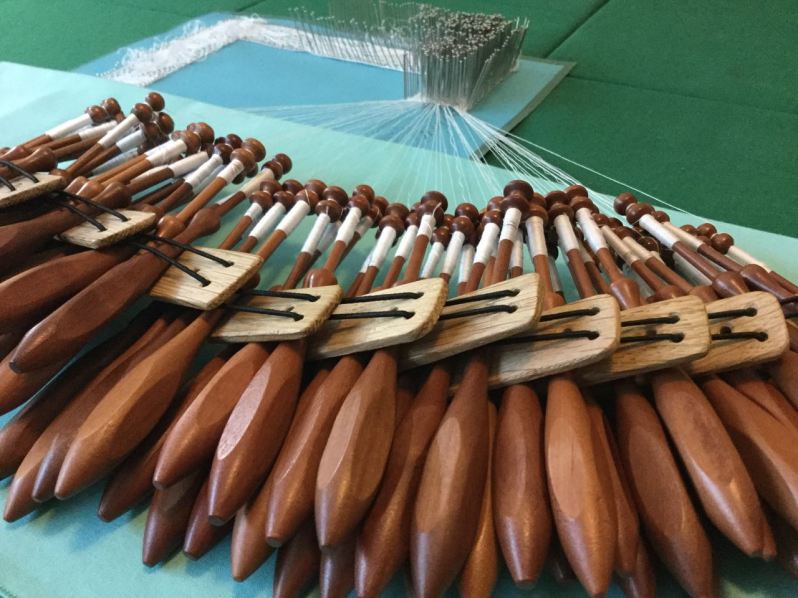
All up, this pattern requires 84 bobbins. Managing this number of bobbins and moving them around on my pillow requires a bit of organisation to make sure things don’t get all tangled up. I find bobbin slides very useful for keeping my bobbins tidy and in the right order when I make lace. They are also useful for stacking bobbins if you are using a lot of bobbins on your lace pillow. The ones I use are made of wood and each slide is fitted with an elastic loop that is used to secure the bobbins.
The slides that I use come in two sizes – the small one is used to secure four to six bobbins, and the large slide is used to secure eight to ten bobbins. Here is picture of my bobbins slides in action:
The number of bobbins that I used on this project are reasonably modest in Binche terms – some of the patterns that I have my eye on require 250 – 400 bobbins. Keeping such a huge number of bobbins tidy and organised is going to be a real challenge and will require a lot of bobbin slides! I bought my bobbin slides a few years back and always regretted not buying more. A few weeks ago a friend of my dad, Jim Kyle, agreed to make me some more bobbin slides. Jim is a very experienced woodturner and he does the most exquisite wood work. I was absolutely delighted with the bobbin slides that he made for me. They are the perfect size, and are nice and smooth. The one side of the slide is slightly tapered to make it easier to slide them underneath the bobbins that you wish to scoop up and secure. And each slide has a small hole drilled in at at each end so that you can secure it with a pin or a pin divider on your pillow. Genius! All I need to do now is to fit each of the wooden slides with some hat elastic which will be used to secure the bobbins.


Lesson #5: Light
I tend to make lace late at night, which means that I don’t have the benefit of bright, natural daylight. Making lace under artificial light can pose some challenges and the finer the thread the harder it becomes to see what you are doing. (Oh, and of course eyes of a certain age are less ‘cooperative’ shall we say …) To complicate matters even further, the combination of the artificial light and the pins clustered together results in long shadows being cast over your lace in all different directions, which makes it even harder to see what exactly is going on.
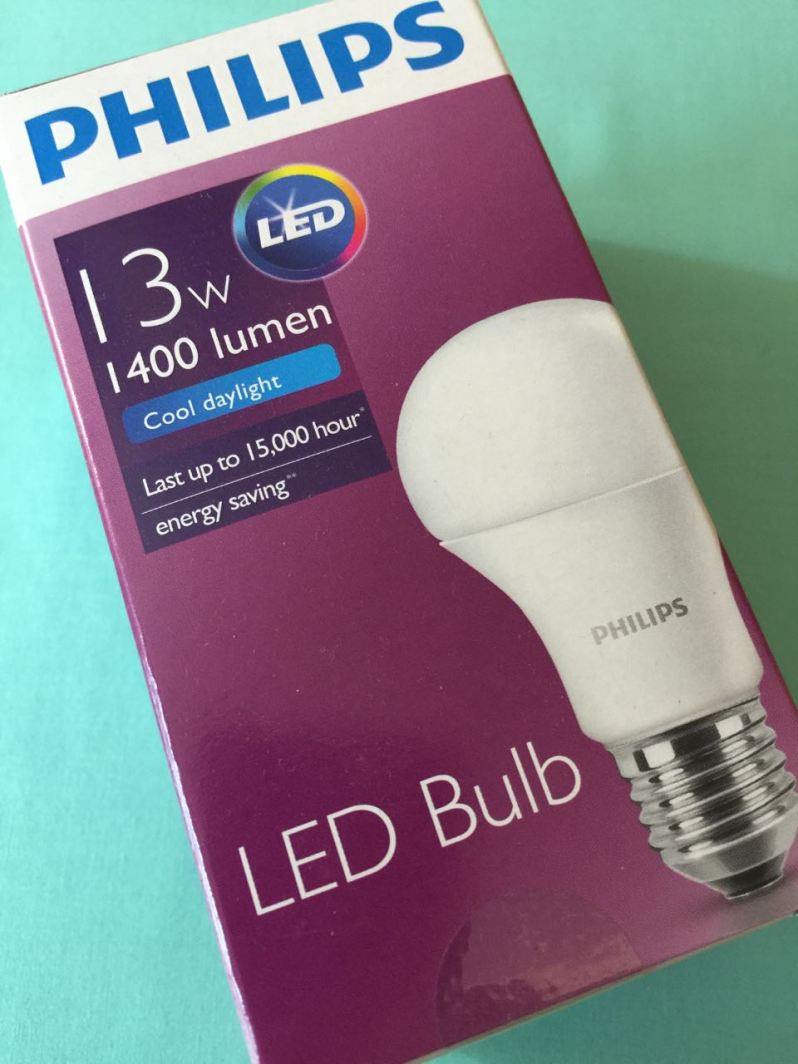
After one particularly challenging late night session of making Binche I decided there had to be a better lighting solution so off I went to my local hardware store. They had a variety of different options on display and I ultimately decided to go with a Philips 13W LED bulb in ‘cool daylight’ (they also come in ‘warm white’). It draws only 13 watt of energy but producers 1,400 lumens. Compared to a traditional incandescent bulb it provides up to 80% energy savings with an average lifetime of 15,000 hours. It is the brightest Philips LED bulb for home use and I was absolutely blown away by what a difference it made. I was able to see crystal clear. Even though the colour tone of the light (‘cool daylight’) is not my first choice for normal residential use, I found it absolutely ideal for my lacemaking.
So, there you have the top five things I have learnt during the course of my Binche journey over the last year. Back to my lace pillow now to finish ‘Renee’ – I hope to post pictures of the finished handkerchief edging in my next blog post.
If you would like an email of my future blog posts, click on Follow in the bottom right hand corner of this page.
You can also find Letslace on Pinterest
Thanks for visiting, see you next time!
