Pricking a pattern may not be the sexiest part of lacemaking, but it’s got to be done.
After a lot of trial and error, I have finally figured out what works for me. Here are ten tips that I have found useful for preparing good quality, durable prickings.
Tip #1
Make a copy of the pricking. Take great care with this part of the process, because some copiers may distort the size of the pricking. If this happens, the recommended thread size may no longer be appropriate. I always mark out a 10cm line on the original before making a copy. Once I have made a copy of the pricking, I measure the line to check whether it is still exactly 10cm long. If not, I know that the copier has distorted the size of the pricking. If this is the case, there are two options for resolving the issue. The first option is to select a thread size that is appropriate for the pricking. The second option is to resize the pricking. Next week I will do a blog post to explain how to resize the pricking, so be sure to check back.
Tip #2
Paste the copy of the pricking onto thin (but sturdy) cardboard. I prefer to buy pricking card from lace suppliers. I use an inexpensive glue stick from a stationery store.
I typically cut the cardboard so that there is a clearance of approximately 1 – 2 cm on each side. There’s no hard and fast rule with this – as long as you leave some clearance between the edge of the pricking and the edge of the cardboard, you will be fine. Be sure to spread the glue evenly so that there aren’t any lumps and bumps once you paste the pricking onto the cardboard.
Tip #3
Use a good quality self-adhesive film to cover the pricking. I like using matt blue X-Film.
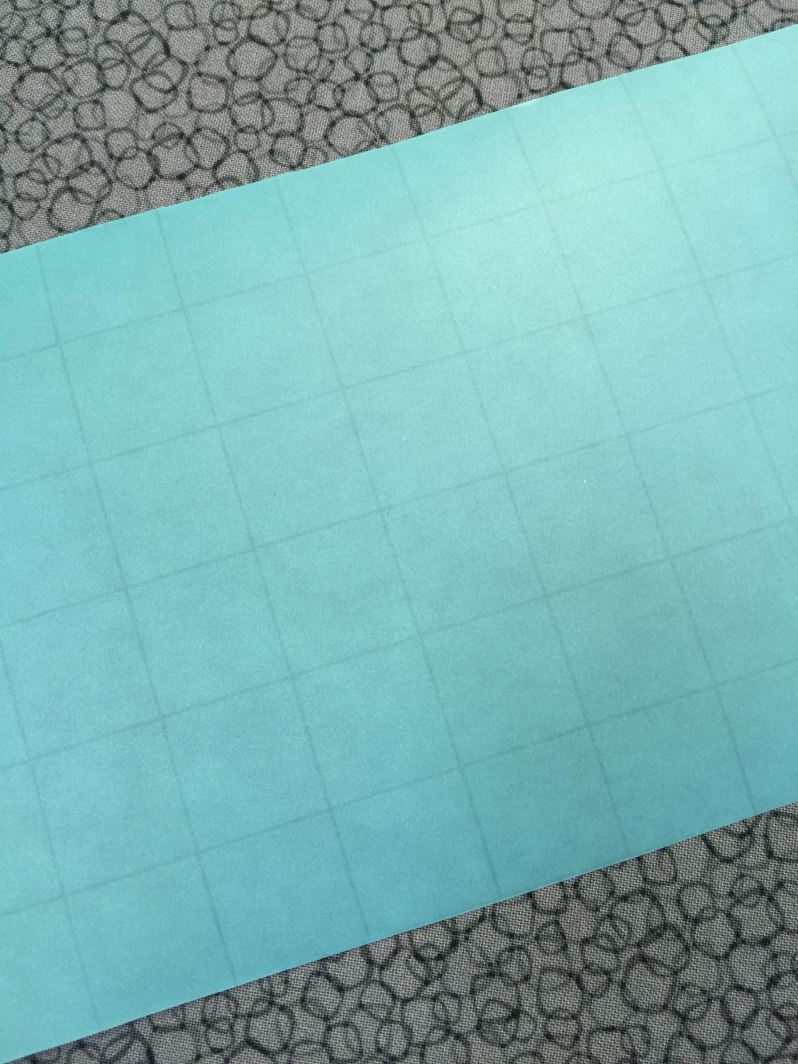
I normally cut the film so that it is exactly the same size as the cardboard. Because of the 1 – 2 cm clearance (refer above), the film sticks to both the pricking and the cardboard, which makes for a durable pricking. A good quality film will protect the pinholes from ripping. This is particularly useful if you are preparing a pricking for a type of lace that requires many pins to be placed in close proximity (e.g., Binche or Bucks). The film will also stop the photocopier toner from bleeding through to your lace.
Tip #4
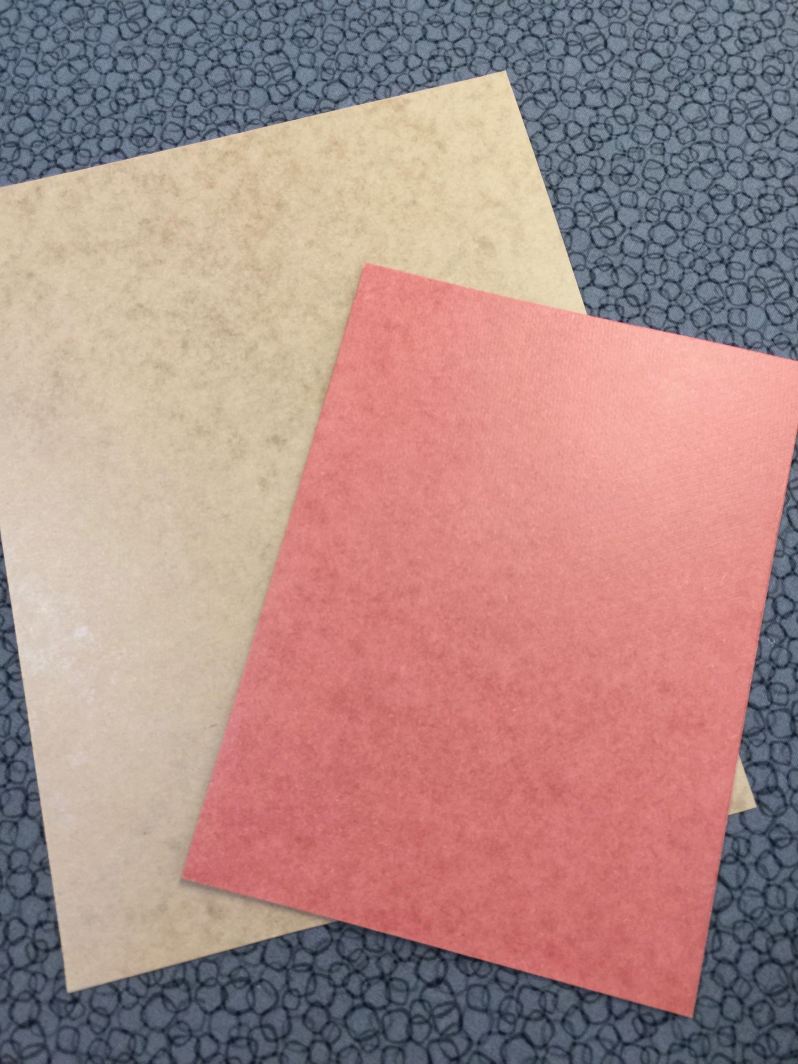
I recommend using a self-adhesive film with a matt finish. When I started making lace I used self-adhesive film that was quite shiny (the type you buy from a stationery store). I found that the resulting glare placed quite a lot of strain on my eyes. Matt blue X-Film is my favourite. I find the blue colour very restful and easy on the eyes, and it shows up the pattern and threads beautifully. If you can’t find blue self-adhesive film, you can use clear self-adhesive film, but in that case I recommend that you use light blue paper when making a copy of the pricking. (If you use white paper with clear self-adhesive film, and then use white thread, the thread won’t show up clearly, which may make it more difficult to work.)
Tip #5
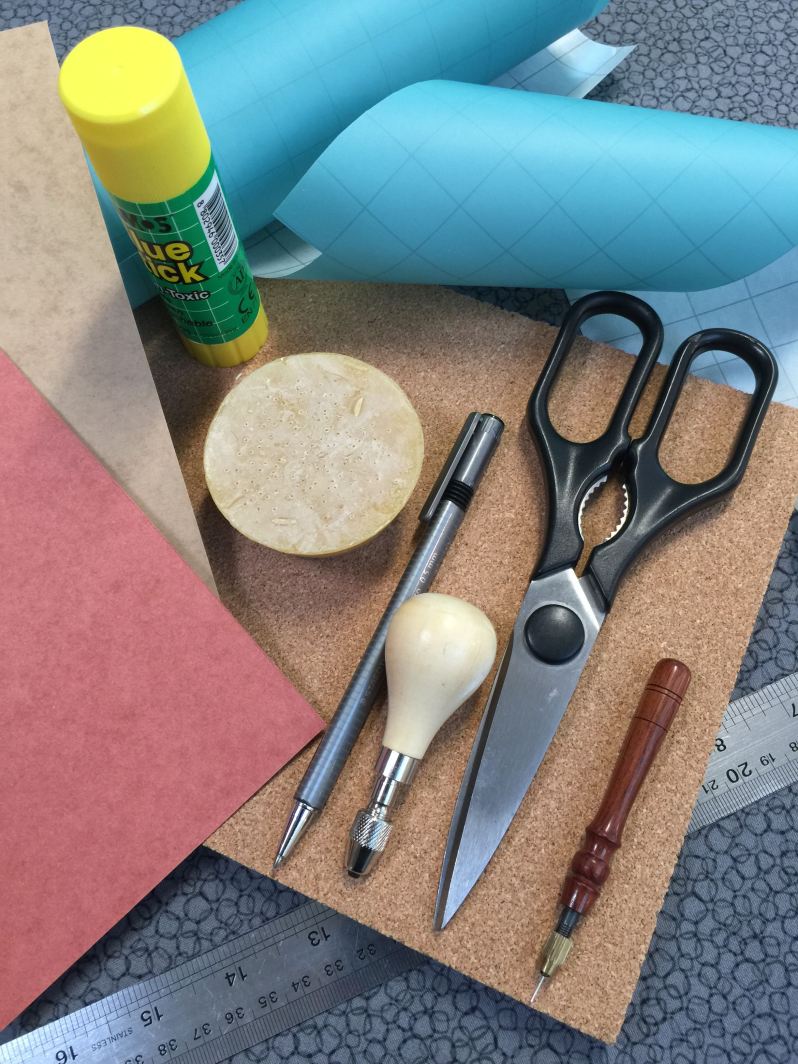
Place a cork board under the pricking card when pricking the pin holes to protect the surface of the table that you are working on. (Lace suppliers usually stock cork board.)

Some lacemakers place the pricking card on their lace pillows whilst pricking the pinholes. I prefer not to do that in the hope that it will extend the life of my lace pillow. My preference is to use a cork board instead – they are much cheaper than lace pillows, very light and durable, and you can carry them around to wherever you want to sit while you do the pricking.
Tip #6
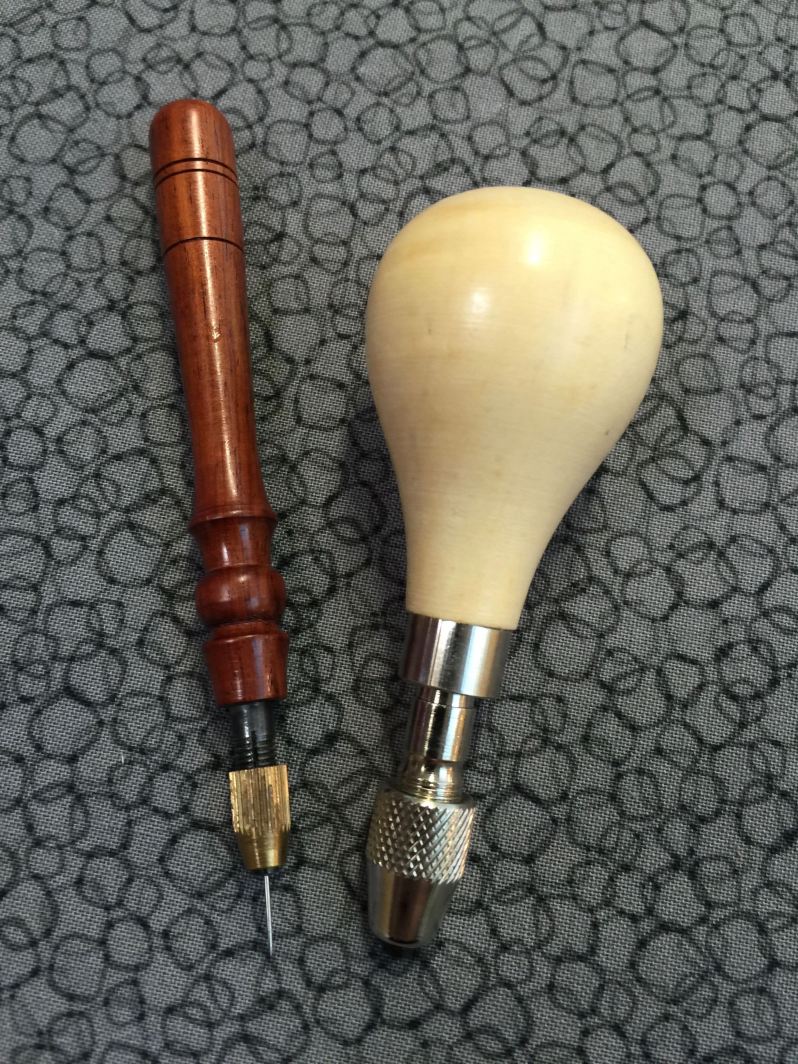
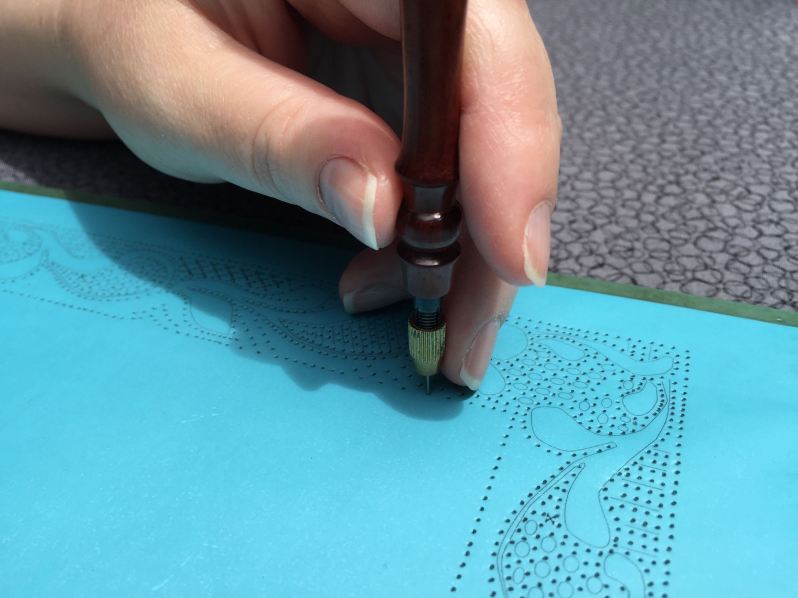
Prickers come in different shapes and sizes, so be sure to choose one that is comfortable to hold. If you are doing a large pricking, it might require hundreds of pinholes to be pricked. So, a pricker that is difficult to grip will become uncomfortable really fast.
Tip #7
Take care with selecting the appropriate sized sewing needle for your pricker before starting with your pricking. If the needle is too thin compared to the pins you are going to use, it will be difficult to push the pins into the pinholes in the pricking. On the other hand, if the needle used to prepare the pricking is too thick, the pins may move around when you tension your lace, and this may distort your lace.
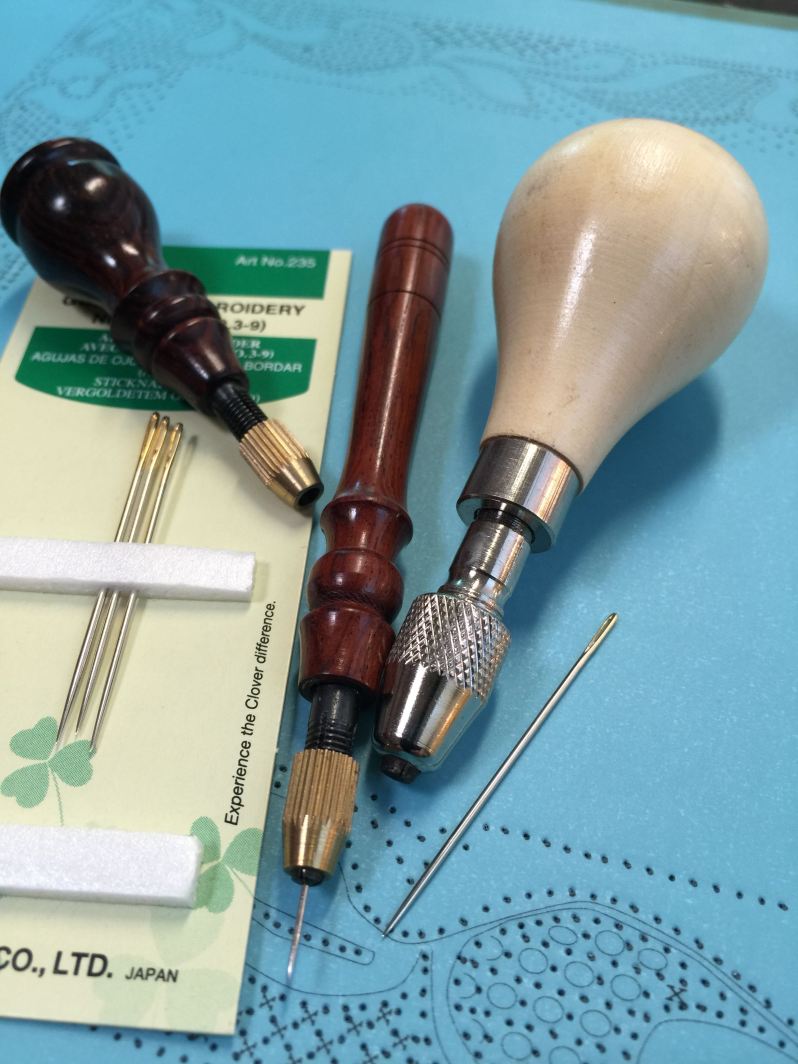
The prickers pictured above are fitted with a pin vice, which is a collar tightening device. This is very useful, because it allows you to insert different sized sewing needles into the pricker as required for your pricking. I normally raid my mum’s stash of sewing needles to find one that is the right size.
Tip #8
Beeswax is very useful to “lubricate” the needle whilst pricking the pin holes. It is available from some lace suppliers, or from health food stores.
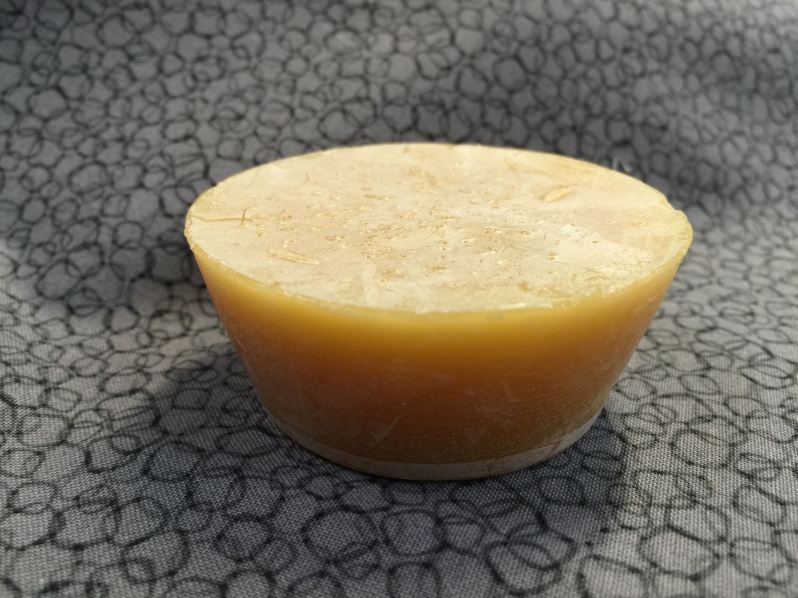
I tend to prick the needle into solidified beeswax after every ten pinholes pricked. You will notice a big difference – the beeswax makes the needle glide effortlessly through the pricking card. Take care to ensure that you only dip the tip of the needle into the beeswax. If you dip the entire length of the needle (from the tip right up to the pin vice) into the beeswax it may end up clogging the pin vice – I learnt this the hard way when I used beeswax for the first time.
Tip #9
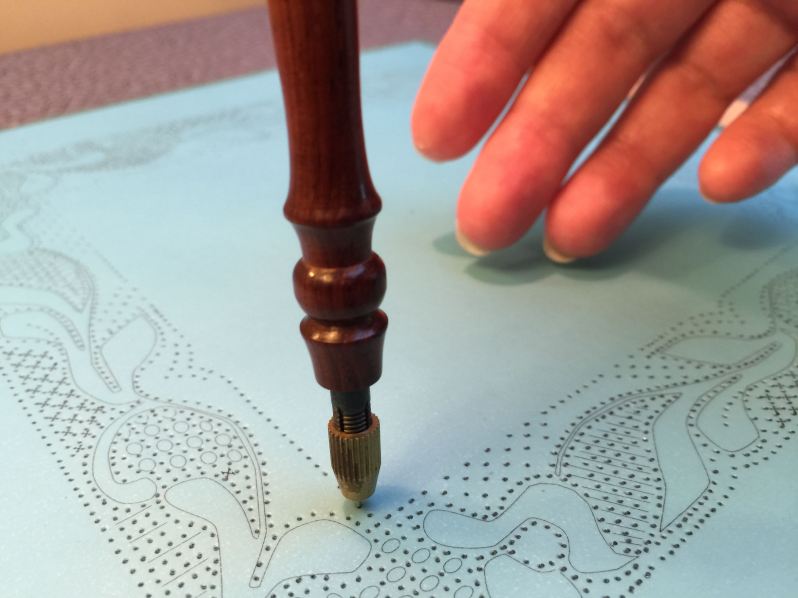
When you prick the pinholes be as accurate as you possibly can. Now is not the time for “near enough is good enough”. Remember that the accuracy of the placement of the pinholes will ultimately affect the appearance of your lace. So taking extra care at this stage of the process will save a lot of frustration and disappointment down the track. The needle in the pricker should be perpendicular to the pricking card when pricking the pinholes. This will improve the accuracy of your pricking.
Tip #10
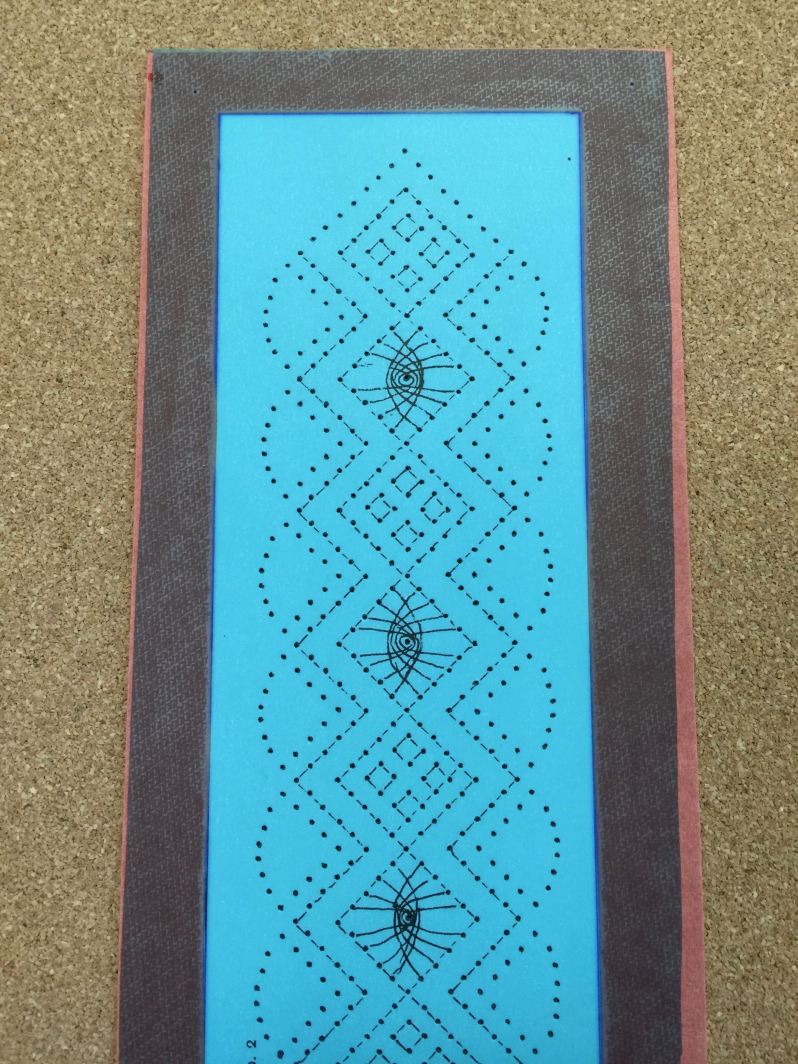
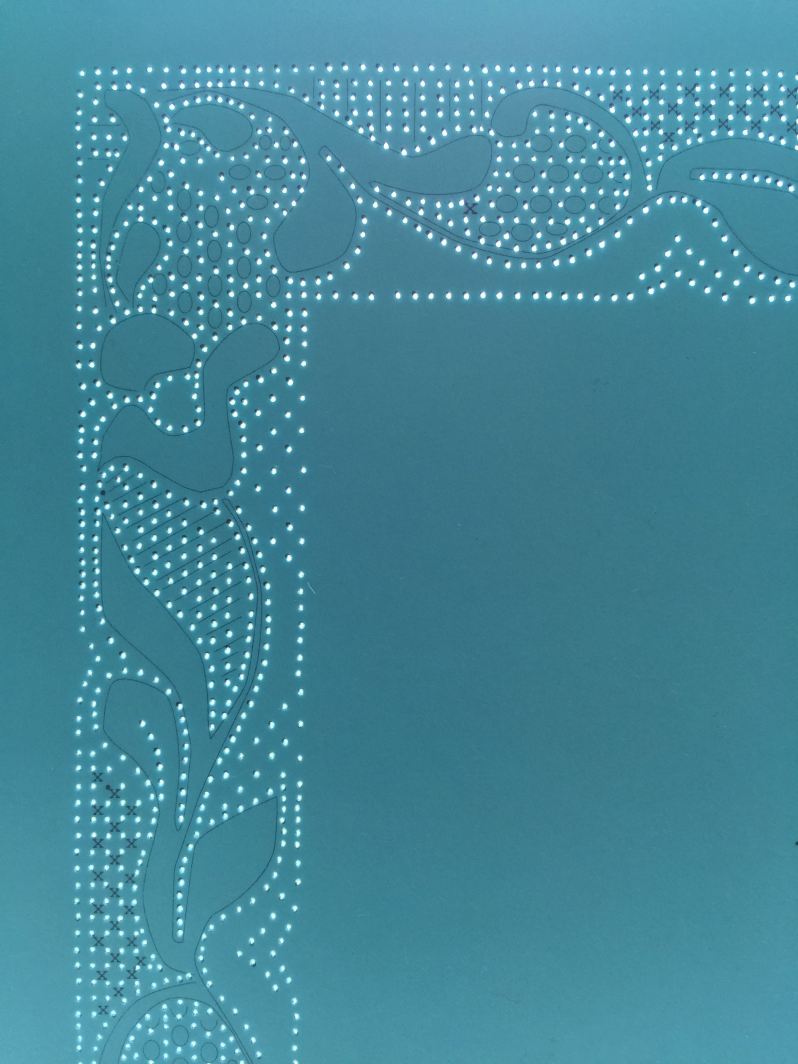
Once you have completed your pricking, hold it up against the light. The light shines through the little pinholes and will enable you to check very easily whether you have missed any pinholes in the pricking process. (I love the effect that it creates if the light shines through the little pinholes.)
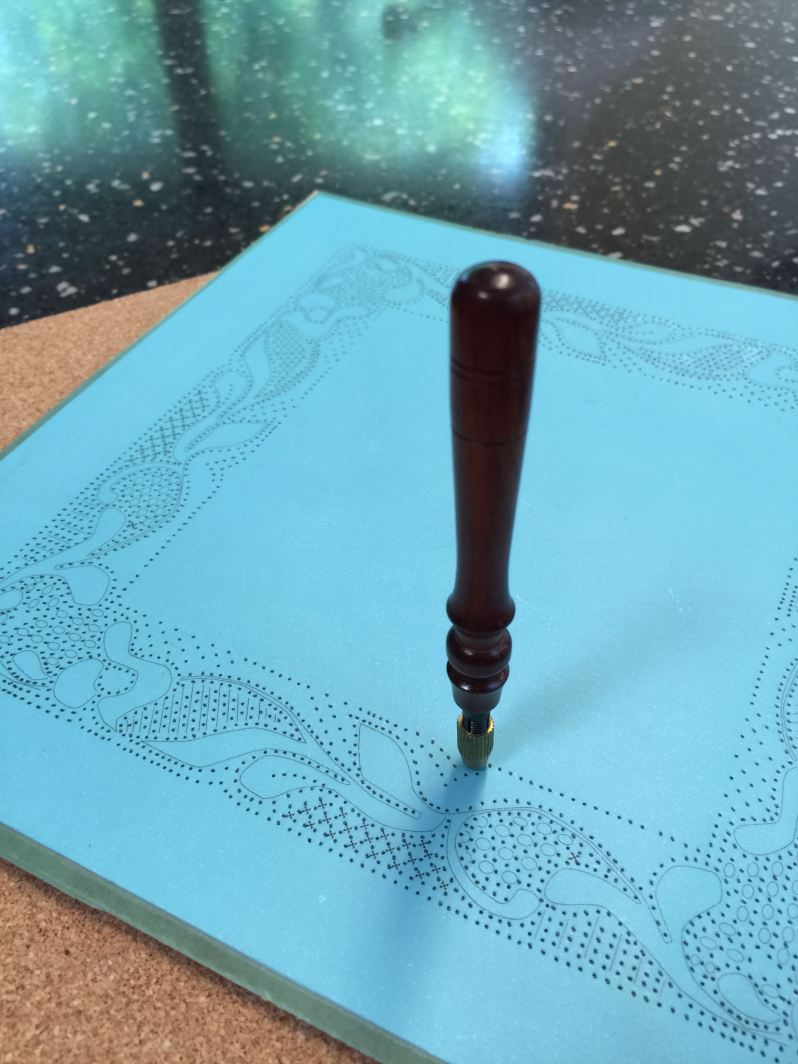
And here is the finished pricking – ready for me to start a new piece of lace:
If you would like an email of my weekly post, click on Follow in the bottom right hand corner of this page. You can also find me on Pinterest.
Thanks for visiting, see you next Sunday!


Wonderful advise for a beginner! Thks!
Great article. Things I knew and had let slip, others I didn’t. Often I see photos posted with white paper pickings and clothespin bobbins. I understand cost but the quality and experience of lacemaking suffers so much if on doesn’t have proper tools. Articles like this will hopefully inspire beginners to consider establishing good foundations.
Great tips! Thank you very much for sharing, I didn’t know beewax helped in the pricking. It makes sense. 🙂
What I do when using the shiny self-adhesive film from stationery shops is gently scrub it with a scratchy kitchen scrubber. It removes the shiny surface and makes it comfortable to the eyes when working.
I’m looking forward to your resizing tutorial.
Regards from Spain.
this is invaluable to me– thanks for sharing and taking your trials to help others avoid them. It encourage me to make lace as it can be an overwhelming task when self teaching…. thanks again!
These are some of the best ideas for a beginner or even someone with years of experience. I appreciate all your advise. Can you suggest a good place to purchase prickers like yours?
Thank you so much Diana. I bought my favourite pricker from Van Sciver Bobbin Lace. Another option is to buy a pin vice and to take it along to your local woodturners’ club and ask one of the woodturners to turn a wooden handle – custom made to suit your particular preference.